31 January 2015

Growing Courgettes in the Garden Route. Murgpampoentjies in die Tuinroete

I think the courgette is probably the vegetable with the biggest identity crisis. I mean some call them marrows, others baby marrows, the French and British call them courgettes (like I do), and then the Americans and Spanish call them zucchini. Maybe it is just the English language with the problem though. In Afrikaans they're simply "murgpampoentjies" (marrow-pumpkins)... that's all. One name. Sorted.

When I saw what a marvellous crop of courgettes my best friend harvested the year before last, I decided right then and there that I would also be planting them the warm season of 2014/2015. What a great decision! I planted only 6 seeds, in order to produce 3 plants in a small bed. I had a 83% germination rate, and could therefore only keep the strongest three plants. 
13 Nov 2013 - Three courgettes poking out aboveground/Murgpampoentjies agter die radyse
13 Nov 2014 - Baby courgette plant/Klein murgpampoen plantjie
19 Dec 2015 - Coming along nicely/Een van die eerste murgpampoene
21 Dec 2014 - Lovely courgette flower/Murgpampoen blom 
14 Jan 2015 - Three of the big ones/Drie ou grotes
I am really chuffed with my courgette harvest. In retrospect I realised I planted too few, but that is the nature of the game. You learn through trial and error. In a tiny space of about 1.9m x 0.5m, and with only three plants, I managed to harvest about 2kg of courgettes. When I take into account the cost of the seed at R14.00, and the compost that went into this area (also about R14.00), I ended up with a profit of R30.00. I worked this out on the price of non-organic courgettes sold at R29.99 at the local fruit and veg shop. My courgettes are also organically grown, so the profit is actually even a bit higher than that.

Whatever you decide to call courgettes, the most important thing is to plant them. You won't regret it...
Improvised stir-fry with beans, courgettes, peppers and tomato from my garden, plus butternut

19 November 2014

Indigenous Gardening. Inheemse Tuinmaak

A dispute has existed for a while now between me/my family and our one set of neighbours. Okay, maybe the word "dispute" is a bit of an exaggeration... they/their guests have irritated us with inconsiderate parking for a few years running. I might also add that it hasn't been one family, but almost the full range of families occupying the said house over the period of irritation.

Our swamp cypress is squarely to blame for the escalation of un-neighbourly feelings. You see, even though virtually our whole neighbourhood moans about the leaves the tree so abundantly throws in autumn/winter, almost all of the very same neighbours love the shade it casts. Our next-door neighbours, and their guests, have taken it upon themselves to park in the tree's shade... on our grass... or even into our garden! You could just imagine the mother's horrified expression when she saw this trend unfolding.

That is the background to this blog post. Over the years we've had various ideas to dissuade our kindly neighbours from abusing our shady grass (including partially submerged spikes), but I finally settled on one idea this past month. I decided to create an indigenous(-ish) bed stretching all the way from the num num bed, under the cypress, to the curb. Not only would this send a very clear message to the perpetrators, but also be a sight more pleasing to the eye than sad-looking kikuyu struggling in too much shade.

The poor momster took it upon herself to remove the grass and dig in the compost. It was needed though, because the soil in that part of our yard hasn't really been composted in years. I had a vision of multiple levels, rocks, grasses and some flowery indigenous shrubs.

Let me show you the process:
The before picture/Die "voor" foto
Here are the after pictures... it didn't turn out too shabby, if I say so myself:


It turns out that the gaura I decided to plant in my indigenous bed is indigenous... just not in South Africa, but rather in North America. Oh well, what is a few thousand miles between friends?
Baby Sun Rose creeper (Aptenia cordifolia) and Guara/Rankende Rooi Brakvygie en Gaura
The Christ plant is a nice focal point in my new bed with it's thorny branches and striking blood-red flowers. It is also more indigenous than the gaura, although still off by a mile or two. It's native habitat is apparently Madagascar...
Christ Plant (Euphorbia milii)/Christusdoring
At least three elements in my "indigenous" garden are Very indigenous, that being the stones sourced from Oudtshoorn, num nums which were already thriving adjacent to the new extension and the two baby sun rose creepers I planted in the foreground. My bed might not be as indigenous as I planned it originally, but at least it is water-wise. Going the water-wise route is always a good idea in our mostly dry country, even in a relatively rainy area like the Garden Route. Here is what the bed looks like from the other direction:

Three creeping num nums (Carissa family)/Drie rankende noem-noeme
Which indigenous plants have you planted recently? #ProudlySouthAfrican (ish)

22 October 2014

Warm Season Garden Planning. Warm Weer Tuin Beplanning

Welcome to my second instalment of fruit and veg garden planning. The last time I blogged about garden planning it was the beginning of our southern autumn and I was very hopeful and excited about the possibilities of my cold season garden. This time around I'm blogging midway through the spring, so therefore this post is about planning for warm planting season.

The success of my winter garden was a mixed bag of welcome delights and bitter disappointments. I can quite happily state though, that the failures in my winter garden was less to do with inadequate planning and more to do with being over-enthusiastic. Yes, once again I made some mistakes in my garden, but I will post on this in future. This post is about informing you on my plans for my three main fruit and veg beds, and the subsequent exertion put into getting ready for the summer season.


Backyard veg patch worked over and ready for compost/Agterplaas groentetuin is omgespit en gereed vir kompos


Calculating how much space you have

This season I spent the least amount of time on this step. You see; I have a mild case of OCD so I spent hours upon hours of measuring, re-measuring, calculating and re-calculating the size of all my beds in March of this year. This time around I just pulled up my Excel spreadsheet... and Bob's your uncle! I will admit that it took some minor fiddling here and there as my calculations were a bit off last time. As I am ever the perfectionist, this minor error had to be fixed. Just Had to!

The total size of my three main beds is 12.84mof which 7.72mis usable for fruit and veg production. This is due to certain areas being in the deep shade during certain periods of the day, or simply by perennials taking up the space. I know my space is severely limited, but one has to work with what one has, hey?


Deciding on which veggies or varieties to grow

Which summer fruit and veggies do we like to eat most?

If I go according to that list, my planning measures up in the following way: 
I already have a Granny Smith apple in my fruit bed. It's been in my garden about a year and a half and still going strong, but won't bear fruit for a while yet. I already bought my baby marrow (courgette/zucchini) seed at our local Agri store, but won't do butternuts again as they take up too much space. I also already have my dry beans, ready to be sowed. They're leftovers from last year's planting season. I don't have enough space for either cucumbers or grapes, so will still have to source those from our fantastic local fresh produce store, but the peppers were left in my garden. I treat them as perennials since they die back almost completely in the cold season, but always come back into their own late September. I saved three of the sweet potatoes I harvested from the garden in April to make new slips with. Currently the slips are beautiful, and forming roots in a little plastic tub filled with rain water. Tomatoes? I purchased twelve Moneymaker seedlings and cherry tomato plants from local nurseries. 
Sweet potato slips/Patatranke
Which fruit and vegetables worked in my garden last spring/summer?

Which plants or vegetables benefit most from each other?
Companion planting is a subject every organic backyard farmer must familiarise him/herself with. This is due to the fact that bugs and pests love fresh veggies just as much as we do, especially in a humid climate like the Garden Route's. I won't spray any (non-organic) pesticides, so the fruit and veggies are even more of a temptation to the little critters. The best way to solve, or at least minimise, this problem is to inter-plant fruit and veggies with beneficial herbs and plants and also plant trap crops like nasturtiums. The former assist and provide nutrition to the fruit and vegetables and the latter draw the pests away from our treasured produce. The idea behind companion planting is to create a small and balanced eco-system in your garden, thereby not providing fodder for bugs by planting a ton of the same plant or species. The best South African advice on companion planting is to be found on Livingseeds' website and another good table can be found here.

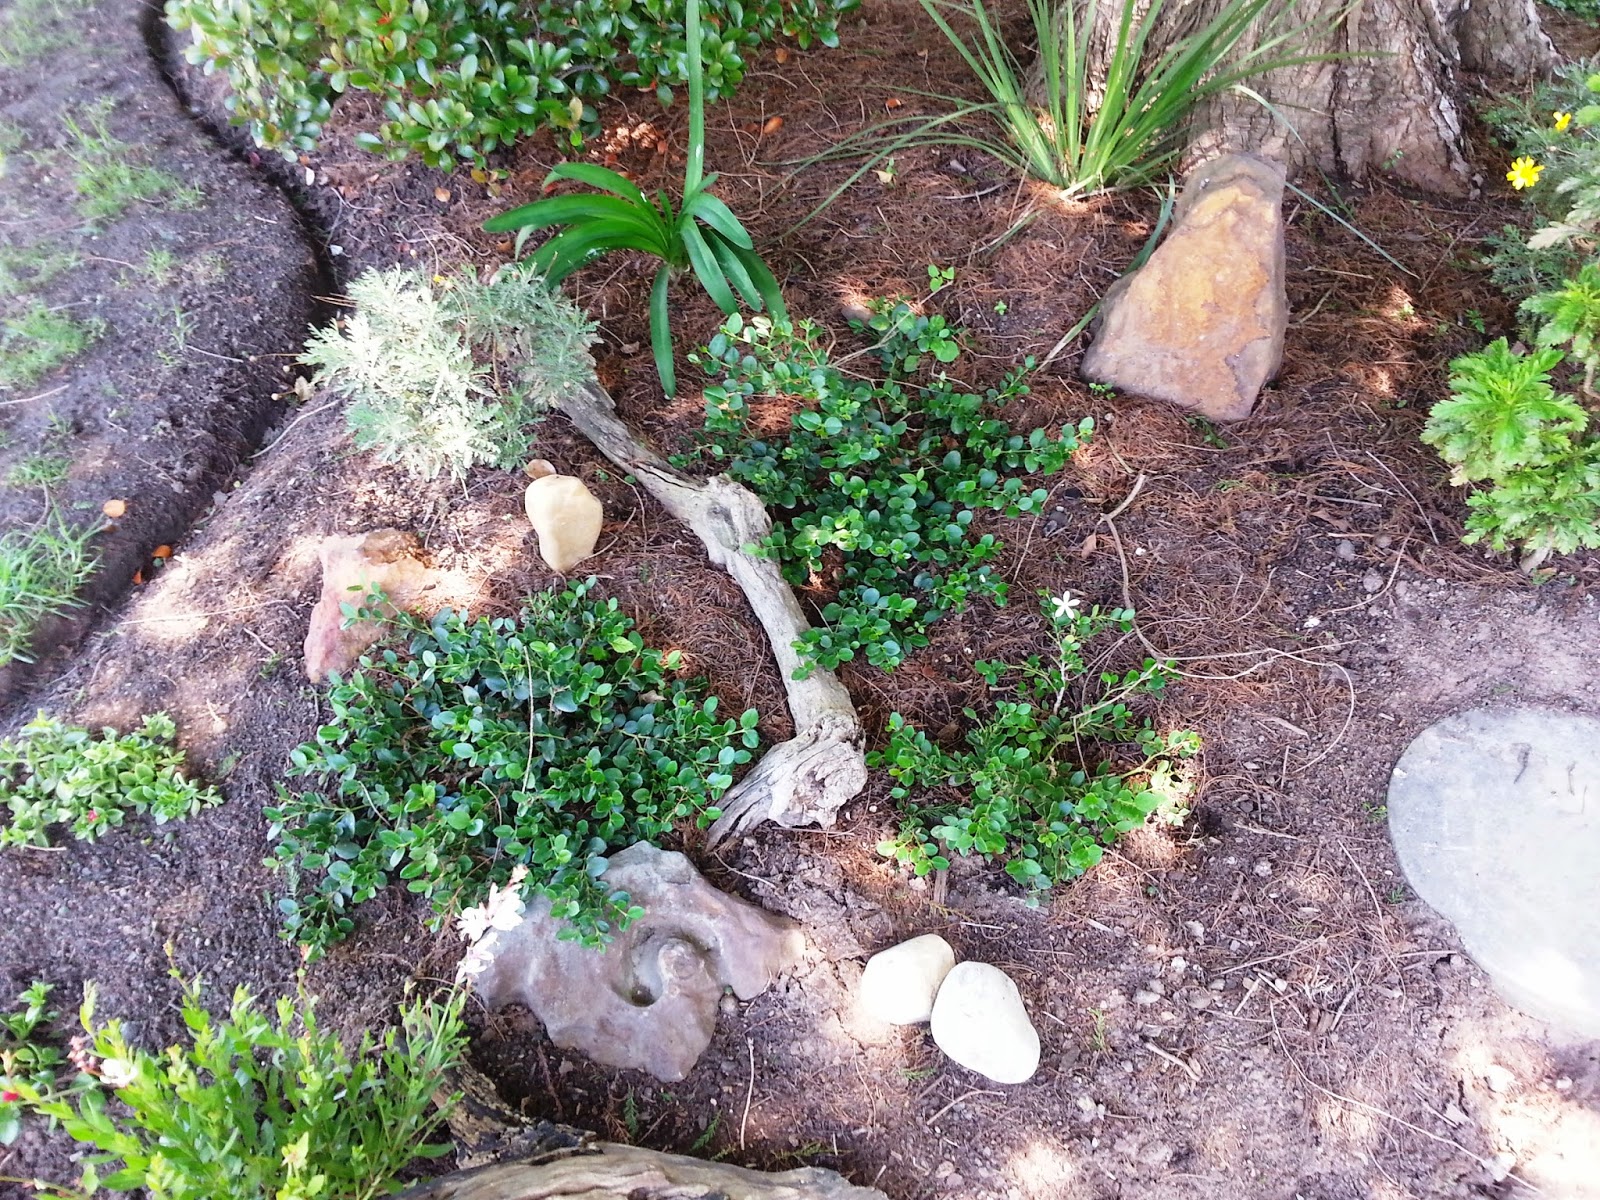
Which plants are most suited to my soil type and amount of shade?
This is a question that can only be answered with a great degree of certainty after the third or fourth growing season. Yes, as a gardener you will probably know what kind of soil you're blessed (or cursed with), and therefore which fruit and veggies are best suited to your property, but even this knowledge might be misleading. My blessing is the fact that my parents frequently composted in years gone by. My curse is that our natural soil is rich in clay, but luckily the same parentals sorted most of this out by extensively applying lime. I have never actually done a pH test on my soil so I can't say without doubt whether I have acid or loamy soil, but my bet is on good garden soil (somewhere between the two), as it is rich and black in colour (minus the small bits of clay left in some spots underground).

Drawing up a garden plan

I once again used the fantastic GrowVeg Garden Planner tool to assist in this task. This time around I decided to purchase a year-long membership. This enables me to not only draw up multiple garden plans without deleting and re-doing them one by one, but the tool also remember what I planted in a specific space before. This will help me with the next season's planning and planting, as the tool will give me crop rotation warnings etc. Brilliant hey! 

I've decided to share my Backyard Veg Patch plan with my avid blog readers again, if only to show you how the tool assists in the whole process... and how I've improved in utilising it haha. One thing I realised is that you can select the variety as well as the plant type. Practice makes perfect. Without further ado - here is my plan:
Backyard veg patch plan/Agterplaas tuin plan (copyright www.growveg.com)
At least I can say with all honesty that this phase of my planning took a fraction of the time this season. Thank you GrowVeg!

Preparing the soil

As I like to believe I learn from my mistakes, I decided to delay my summer season planting with a month or so this time year. My region experience most rainfall in Oct/Nov and Mar/Apr, although we do get rain most months of the year. Last year the combination of granny's impatience and my eagerness led us to sow and plant most of our warm season crops late August already. Mistake! Not only did some seeds drown in the heavy October rains, but the tomatoes and beans were more susceptible to blight, as the plants which did make it had to struggle through the whole wet season.

This time I only started to prepare my beds early October, and plan to plant my beans, courgettes, sweet potatoes and tomatoes late October. I can almost hear some readers gasp in horror. Surely one cannot sow tomatoes as late as that?! No dear readers, I've also learned from my second mistake - plant seedlings wherever possible and stay away from seeds. I learned this lesson by comparing my tomato production (dismal) to my best friend's 100m away in the same neighbourhood (bountiful). Yes, sometimes one can learn by observation of others.

As stated in my previous post, the MOST IMPORTANT TASK IN GARDEN PLANNING is soil preparation. I'm using upper-case again to emphasise just how important this step is. The two golden rules I've stayed with this year is composting and fertilising.

Unsatisfactory compost mixed with organic manure/Middelmatige kompos gemeng met organiese hoendermis
At the risk of becoming repetitive, the rule of thumb with composting is to add around 2 bags of good, organic compost to every square meter (roughly the equivalent of 2 inches of compost as a top layer). As I wasn't a hundred percent happy with the quality of the compost I purchased for most of my garden (it didn't have the healthy slight farm stink to it and was also too fine for my liking), I decided to add roughly one part pure organic chicken manure to two parts (unsatisfactory) compost. Problem solved. Unfortunately the organic chicken farm where I usually purchase my manure ran out. After briefly wondering how a chicken farm runs out of chicken poo I decided to stock up at the other organic chicken farm in the vicinity. Tip to future buyers from said farm: ask for chicken compost, as the cashier doesn't know it by any other name... and I mean any other. Luckily I also bought four big bags of great, organic compost for my backyard veg patch elsewhere, so those didn't need added manure.
The good stuff - Grow Green Organics compost/Swart goud - Grow Green Organics kompos
A rule of thumb with fertilising is to add about 150g composted chicken manure to every square meter - around fruit trees especially. 50g equals about a handful. A good organic option is either Bounce Back (around R60.00 for a 5kg bag). A cheaper option is Rescue, which is also pelletised chicken manure, but comes in a less snazzy bag. I opted for the latter and bought 4kg for only R40.00 (a 17% saving) at Norgarivier Nusery on the Old Airport Road.

I did most of the composting about a week ago, and did the fruit tree fertilising a few days ago. Now I just have to wait the required two weeks after composting to get in my selected vegetables for the summer season. What did I choose to plant this time around?
  1. Contender bush beans (seed): as they produce quicker than pole beans and don't cast shade on other plants in my very limited gardening space.
  2. Caserta courgettes/baby marrows (seed): as they require a fraction of the space gobbled up by butternuts or other pumpkin varieties
  3. Cucamelons (seed): as they are simply too adorable to resist
  4. Sweet potatoes (slips): after the success of last year I would be crazy not to plant it again!
  5. Cherry tomatoes (seedling): as they grow and produce quickly and are more hardy to diseases than big tomatoes.
  6. Normal sized Moneymaker tomatoes (seedling): the name convinced me ;-)
And that is my summer season garden planning story... in detail... maybe too much detail

(... but who cares...)

17 October 2014

Foreign Friday. Volksvreemde Vrydag

Tamarillo/Tree Tomato (Solanum betaceum)


The first thing I noticed when I bought my tree tomato in May 2013 was the pungent smell. Okay, to be honest; this is the real story... I desperately needed the bathroom after a visit to my favourite nursery. Luckily I had the cute little tamarillo (synonym for "tree tomato") to show for it, but I was worrying that the trip back to town would be just too long! Then suddenly the car was filled with an overwhelming ammonia scent. Oh please no! I thought for a split second that I had a minor case of the number ones in my trousers! Haha no; I didn't wet myself, but my brother had rubbed up against the tamarillo leave, which released the faintly revolting smell. That is the memory I will always associate with tree tomatoes.

Jun 2013 - The infant tamarillo/Baba boomtamatie
The little tamarillo tree did well all through our cold but temperate winter, although it grew more in leave size than height, but then...
Photo only used to indicate the tamarillo's height
... the tree shot up and reached for the sky! I could literally almost see it growing overnight during the spring of 2013 and summer of 2013/2014. It goes without saying - I was well chuffed!

And would you know it - within the space of one short year this happened:
Apr 2014 - Flowers and little tamarillo fruit/Blomme en klein boomtamatie vruggies
Here I am, middle spring 2014, and picking tree tomatoes like it's going out of fashion. I am over the moon with the growth rate and quantity of fruit produced by this great South American plant! Not even a year and a half on and I've already picked 1kg of fruit, with lots still ripening on the tree. Yay!!! 
Fat and juicy tamarillos/Smullekker boomtamaties
The only problems I've had with my tree tomato are water and wind. Yes, the elements don't always play along in a garden. The berg wind tried to destroy my tree a few times, maar 'n boer maak 'n plan, so I planted a thick dowel stick in next to it and tied the tree to it in two places. I used stockings and rubber to tie the tree with, so as not to chafe the soft stem. The water problem was partially due to the elements but mostly due to my infrequent watering. Note to self - when the tamarillo leaves turn yellowish it means the tree is too dry! Luckily a tree tomato is a very forgiving plant and snaps right back into tip top shape once properly fed and watered. 

Which plant or tree has really impressed in your garden these past few months? #SouthAfricanUrbanGardener

Botanical Name: SOLANUM BETACEUM
Common Name: Tree Tomato, Tamarillo
Volksnaam: Boomtamatie
Native to: Andes region in Peru, Ecuador, Bolivia, Colombia and Chile
Date planted/sowed: Late May 2013
Ease to grow: Extremely easy, fruits abundantly
Costs: R20.00 for the tree and about R20.00 for compost as well as R20.00 for manure
Notes: Plant in a spot where the tree is protected from strong winds as it is a top-heavy and fragile plant. Water well every second day in summer and regularly in winter during dry spells.


7 October 2014

Soul Food: Crust-less Bacon and Leek Quiche. Sielskos: Korslose Prei en Spek Souttert

Food is one of my biggest passions... as I think was made clear in my previous post on soul food. Now, with the country being obsessed with the Banting-based Tim Noakes diet, it seems that everyone feels guilty about eating. Yes, I have also tried to cut back on carbs, but I think food is to be celebrated, not regretted. Heck, if you celebrate food by overloading on fat and protein, that's great too.

Bacon & Leek Quiche/Prei & Spek Souttert*


Who ever thought something with as fancy a name as "quiche" could be so simple to make? I follow the principle of throwing ingredients together until it kind of resembles what I'm trying to make, with a recipe as a starting off point. Do you also find it easier to remember made-up recipes than book recipes? I certainly do!

I'm taking liberties in posting this recipe on my blog, as pretty much everything was store-bought. Since I don't live on a farm it's pretty much impossible to make my own cheese and such, but one main ingredient came straight from my backyard vegetable patch. You guessed it; leeks!
Leeks being sautéed in butter/Preie word gesautée in botter
Quiche Recipe (serves 6):

500g chopped leeks/gekapte preie
500g sliced bacon/repies spek
200g cheddar cheese/kaas
8 eggs/eiers
150ml slightly whipped cream/liggeklopte room
2 tbsp butter/botter
1 tsp thyme/tiemie
salt and ground pepper to taste/sout en peper na smaak

Pre-heat the oven to 180 degrees Celsius
Sauté leeks in the butter
Add bacon to leeks and lightly fry
Mix the cheese, eggs and cream together and whip lightly
Add all the ingredients to a large glass pan
Bake for approximately 35mins

The recipe is easily adaptable. Simply add more bacon for a meatier taste or more cheese and leeks (instead of the bacon) for a vegetarian twist. 

Have you ever tried to make a quiche?


*As this quiche is crust-less, it is Tim Noakes friendly

30 September 2014

Spring Has Sprung. Dis Heerlike Lente

I do not want to dedicate this post to anything particularly enlightening, other than to say... SPRING HAS SPRUNG :-) Dis heerlike lente, die winter's verby.... and with spring a multitude of flowers are in bloom. Most of the colour in my garden comes from the indigenous clivias I blogged about way back in October 2013

I'm not going to ramble on and on about how delightful the flowers in my garden are. No, let the photos rather speak for themselves in this case:
Orange and red clivias/Oranje en rooi clivias
Sole clivia hiding in the ferns/Clivia wat wegkruipertjie speel in die varings
Yesterday Today and Tomorrow and a Bird of Paradise/Strelitzia
Clivia lane/Laning gevestigde clivias
Bright red clivia seeking sun/Bloedrooi clivia steek kop uit
White Arum lily behind multi-coloured nasturtiums/Aaronskelk agter die kappertjie bos
Sadly I don't know which type of orchid this is... my Ma noem dit sommer 'n Armmasorgidee
Lavender flowers and yellow clivia/Laventelblomme en geel clivia in die agtergrond

28 September 2014

Favourite Corner - Spring 2014. Gunsteling Hoekie - Lente 2014

I can't believe it's been a year since I last did a "favourite corner" post. How time flies, hey. This time my post will be more focused on a favourite shrub than an actual favourite corner, but the shrub is in a corner, so what the hell...

Japanese Quince/Blomkweper
Chaenomeles japonica is normally grown as an ornamental plant due to its beautiful orange-red to bright-red flowers. They also produce small quinces. Yes, they are perfectly edible. James Wong filled my head with mini-quinces and rumptopf about a year ago now. The rumptopf is still outstanding, as the mini-quinces are still very much outstanding too. 

I must be honest; I have no idea how long this little shrub will take to fruit. I just hope it's not seven years or an equally ridiculous amount of time. Even worse - I hope it's not a "Speciosa" flowering hybrid which doesn't produce fruit. The horror! That's the thing with most South African nurseries: the plants are not properly named and the naming might sometimes even be a bit dodgy. Oh well, let's just hope for the best.

Botanical name: CHAENOMELES JAPONICA
Common name: Japanese Quince/Flowering Quince
Volksnaam: Blomkweper
Native to: Japan
Date planted/sowed: June 2013
Ease to grow: Extremely easy to grow
Costs: The shrub was a gift but costs around R85.00, plus compost of around R10.00/bag
Notes: Grows well in shady spots, but doesn't flower or produce fruit as well